

In this series of articles, I’ll look at fundamental app architectural concepts and how they apply to an app written in SwiftUI.
To begin the series, I want to start with something small: a JSON feed reader app in SwiftUI. I want to focus on the order of the steps, not the code itself and answer a common question: which should you write first, View-code or Model-code?
The short answer is “both” (or “neither”) but properly answering the question offers a segue into a more important question: how can I make reliable progress as a programmer when I’m uncertain about what I’m doing or the blocks of work seem too big to manage?
Where to start?
The app I want to write is a JSON feed reader for the Cocoa with Love JSON feed. The app will be a macOS/iOS SwiftUI app that looks like this:
End goal for the CwlFeedReader app
You have to start somewhere. Where should you begin? Model? View?
Apps are made of multiple components (data, models, views) and these components all depend on each other, leading to a chicken-and-egg problem of which component should be written first.
Where you start doesn’t matter. What matters is that you work in small steps (iterate) and ensure that changes are immediately extended out into every major component in the app (integrate). Between iteration and integration, the most important is integration – that’s how you find problems and ensure you’re progressing in the right direction. Iteration is simply writing small blocks of code so you can get back to integration, again.
I’m going to follow this approach with some fairly concrete steps:
- placeholders
- stubs
- implementation
- iteration
Placeholders
If we want early integration, then we need something to act as both Model and the View as early as possible. It shouldn’t be the real Model or the real View or have any substantial property of the real layers. It will merely be a name.
This is the concept of a placeholder.
View placeholder
Create an application from Xcode’s SwiftUI project templates and you’ll get a ContentView that looks like this:
struct ContentView: View {
   var body: some View {
      Text("Hello, world!")
         .padding()
   }
}
That’s our placeholder View. It has no behavior and it has the wrong structure but it has a name and that’s all we need.
Answering the question “which should you write first, View-code or Model-code”: the View appeared first but I didn’t write it. Not the most helpful answer.
Model placeholder
Let’s create a placeholder for the Model. The Model for a JSON feed app might initially be just the JSON feed itself.
let articles = ""
This alone would work as a Model placeholder – it has a name.
I think I can take an extra half-step to give it array arrity here because the important part about JSON feed is that it contains an array of articles.
let articles = ["one", "two", "three"]
This array of articles is not a representation of a JSON feed but it will work as a placeholder. I have ensured that it has equivalent “cardinality” (it’s an array, not a single object) which will help me segue into the next iteration.
Answering the question “which should you write first, View-code or Model-code”: the first line of code that I wrote was the Model placeholder but it’s not going to survive through the next iteration. Maybe it’s not the most useful question.
Placeholder integration
Before we iterate further, we need to integrate – which is nothing more than putting the model inside the view.
struct ContentView: View {
   let articles = ["one", "two", "three"]
   var body: some View {
      Text("Hello, world!").padding()
   }
}
This integration was straightforward. We’ll see a more substantial integration in the next section before choosing to change the order and make Model changes before View changes.
Stubs
Stub views
This is the start of the second iteration and that means throwing away code from an old iteration. In this case, we throw away the entire contents of the ContentView.body property.
In its places, we can stub out a List using the array of articles.
struct ContentView: View {
   let articles = ["one", "two", "three"]
   var body: some View {
      NavigationView {
         List(articles, id: \.self) { article in
            NavigationLink(destination: Text(article)) {
               Text(article)
            }
         }
         Color.clear
      }
      .navigationViewStyle(DoubleColumnNavigationViewStyle())
   }
}
Our stub view has the basic components: a DoubleColumnNavigationViewStyle with List and a NavigationLink but the views have no real content and do nothing.
Stubbing out views is probably the best aspect of SwiftUI. In 14 lines of code (5 of which are largely empty) you can see the entire program.
This code runs and give the following app:
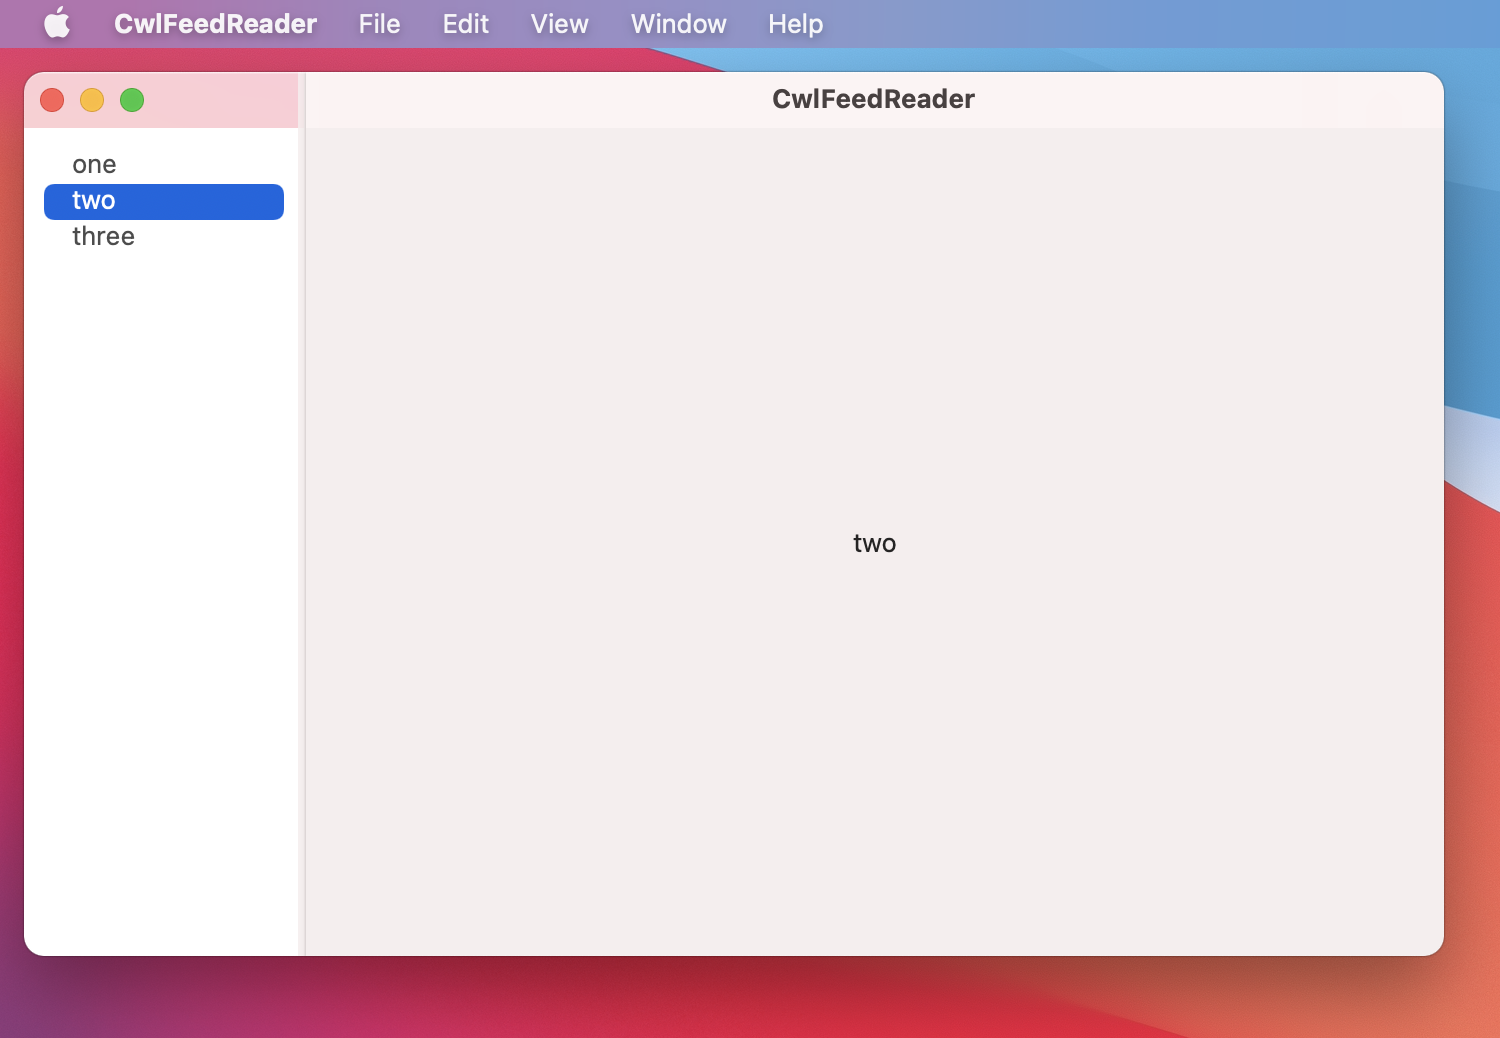
As we add refinements and features in SwiftUI, the details can dwarf the basic structure. Hiding details, without hiding structure, should be the goal of any good SwiftUI developer. It’s important to remember what your view looks like at the stub stage and continually refactor to resurface this underlying structure.
Stub model
As we did when we started the stub view, we’re throwing away the entire stub model. It was just a name and there’s nothing to carry forward (we’re not even going to keep the name).
What do we want instead? The primary requirement of a stub Model it that it needs to adopt the expected structure of the data, so we’re going to add a much larger block of code here.
The Feed and Article types are dictated by the format of the JSONFeed standard, so it’s not difficult to write.
struct Feed: Codable {
   let items: [Article]
}

struct Article: Codable {
   let url: URL
   let title: String
   let content: String

   enum CodingKeys: String, CodingKey {
      case url, title, content = "content_html"
   }
}

class Model: ObservableObject {
   @Published var feed: Feed? = Feed(
      items: [
         Article(url: URL(string: "mock://x/a1.html")!, title: "Article1", content: "One"),
         Article(url: URL(string: "mock://x/a2.html")!, title: "Article2", content: "Two"),
         Article(url: URL(string: "mock://x/a3.html")!, title: "Article3", content: "Three")
      ]
   )
}
Stub integration
In the above code, I made Model conform to ObservableObject and offered feed as a @Published property. This is the technical requirement to connect this version of the Model with the View.
On the other end of the connection, we must make the ContentView reference this new Model. We remove the articles stub and instead include our new model.
struct ContentView: View {
   @ObservedObject var model: Model

   // ...
}
All ContentView construction will now need to pass a Model and the List needs to be updated to follow the new structure of the data.
List(model.feed?.items ?? [], id: \.url) { row in
   NavigationLink(destination: Text(row.content)) {
      Text(row.title)
   }
}
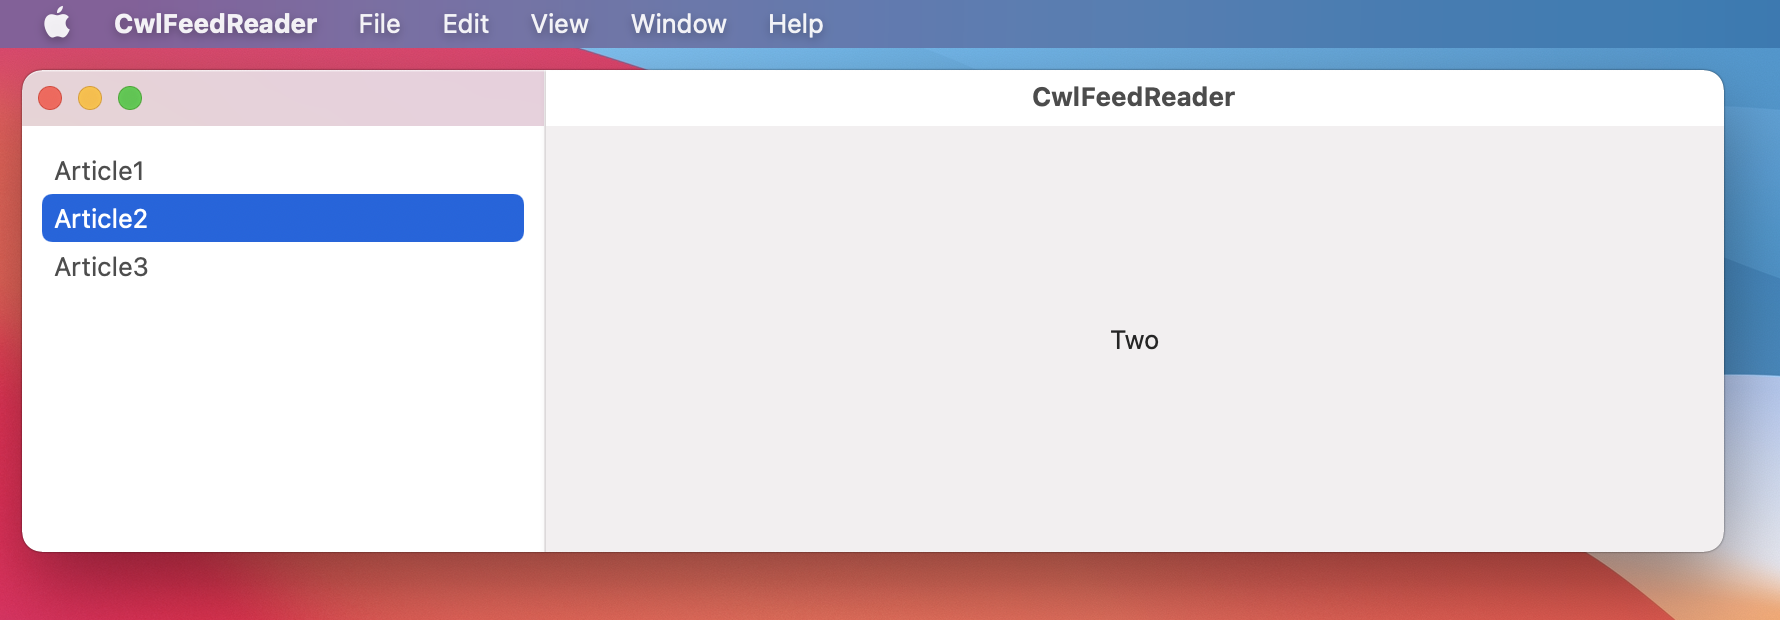
Running the app now show that our stub model is visible in the view:
Functional implementations
Model functional implementation
We’re now at the point where it’s time for the Model to load the actual feed. Since this implementation has no effect on the Model’s interface, it doesn’t matter whether this step occurs before or after similar changes in the View.
The placeholder construction of the feed is thrown away. Instead, we’re going to get real data using URLRequest:
var task: URLSessionDataTask?
init() {
   let request = URLRequest(url: URL(string: "https://www.cocoawithlove.com/feed.json")!)
   task = URLSession.shared.dataTask(with: request) { data, response, error in
      do {
         if let error = error { throw error }
         let feed = try JSONDecoder().decode(Feed.self, from: data ?? Data())
         DispatchQueue.main.async { self.feed = feed }
      } catch {}
   }
   task?.resume()
}
View functional implementation
The View-equivalent of functional implementation in the Model are display changes unrelated to model data. Again, as with the Model functional implementation, this could happen before or after the Model changes.
There’s less throwing away code in this implementation, it’s more a progressive refactoring pass. I’ve added nav bar titles, nav bar styling, and a UIViewRepresentable-wrapped WKWebView for feed content instead of a simple Text view). The ContentView body function is updated as follows:
func detailView(_ row: Article) -> some View {
   SharedWebView(content: row.content)
      .navigationTitle(Text(row.title))
      .navigationBarTitleDisplayModeIfAvailable(.inline)
}

var body: some View {
   NavigationView {
      List(model.feed?.items ?? [], id: \.url) { row in
         NavigationLink(destination: detailView(row)) {
            Text(row.title)
         }
      }
      .navigationTitle(Text("Articles"))
      .navigationBarTitleDisplayModeIfAvailable(.inline)

      Color.clear
   }
   .navigationViewStyle(DoubleColumnNavigationViewStyle())
}
Here’s how it looks:
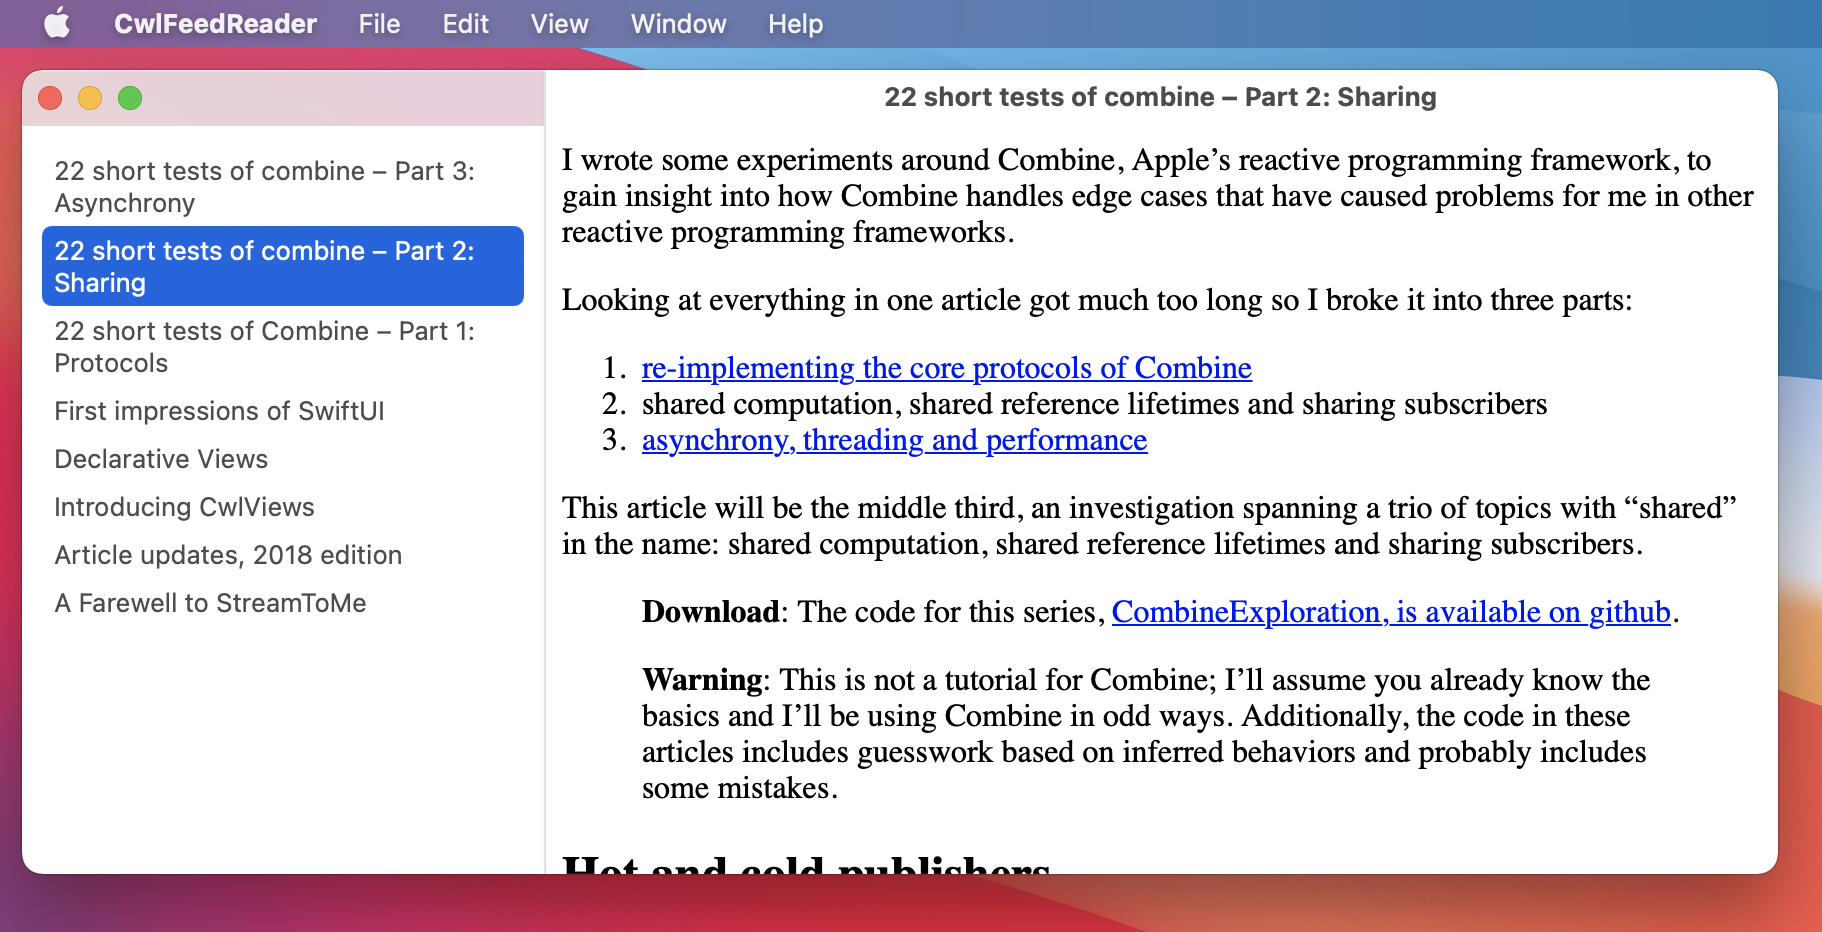
At this point, we now have an end-to-end functioning version of the app. By focussing on a single data pipeline (the feed) we’ve avoided complications and can now build on the core by adding the additional buttons and visual changes from our goal design.
Iterate on the implementation
I want the “is-read” statuses for each article and I want them to be persistent. Let’s add those now.
In the Placeholder and Stub sections, I wrote the View before the Model but at each stage, the integration required after the Model changes grew. Now that we have a non-empty View, it becomes easier to start changes at the Model so we can combine updates to the View with any required integration steps.
As you fill out a structure and pattern for your program, it becomes easier to handle more complex changes in each step. The key is to observe whether you’re able to write your code continuously – without loss of focus, mistakes or backtracking. If you find these problems occurring, it’s a sign that you should attempt iterations in smaller steps.
Model iteration
In this case, I’m going to add the “is-read” status in one step. The “is-read” implementation in Model looks like this:
@Published var isReadStatuses: [URL: Bool]

init() {
   self.isReadStatuses = UserDefaults.standard.data(forKey: "isReadStatuses")
      .flatMap { try? JSONDecoder().decode([URL: Bool].self, from: $0) } ?? [:]
   // ... feed loading omitted
}

func setIsRead(_ value: Bool, url: URL) {
   isReadStatuses[url] = value
   UserDefaults.standard.set(try? JSONEncoder().encode(isReadStatuses), forKey: "isReadStatuses")
}
View iteration
This latest Model change can alter the state of the detailView after it is presented (by changing the “is-read” status). For a NavigationView to change, it must observe the Model for itself (it cannot rely on the parent’s observation or else the old state will remain presented when the state changes) so we need to move the detailView into its own View implementation:
struct DetailView: View {
   @ObservedObject var model: Model
   let article: Article

   var body: some View {
      let isRead = model.isReadStatuses[article.url] ?? false

      return SharedWebView(content: article.content)
         .navigationTitle(Text(article.title))
         .navigationBarItems(
            trailing:
               Button {
                  model.setIsRead(!isRead, url: article.url)
               } label: {
                  Text(isRead ? "Mark as unread" : "Mark as read")
               }
         )
         .navigationBarTitleDisplayMode(.inline)
         .onAppear { model.setIsRead(true, url: article.url) }
   }
}
and use this new implementation from the primary column:
List(rows, id: \.url) { row in
   NavigationLink(destination: DetailView(model: model, article: row)) {
      HStack {
         let isRead = model.isReadStatuses[row.url] ?? false
         Image(systemName: isRead ? "checkmark.circle" : "circle")
         Text(row.title)
      }
   }
}
Further iterations
As you can see from the this iteration, we’ve transitioned from iterating where code is thrown away to simpler feature development where new code is added but little is removed. That’s okay; that’s a sign that the core is complete.
The following features were added in this way to the final code:
- Error handling
- Feed reloading
- Manually toggling “is-read” status on each article
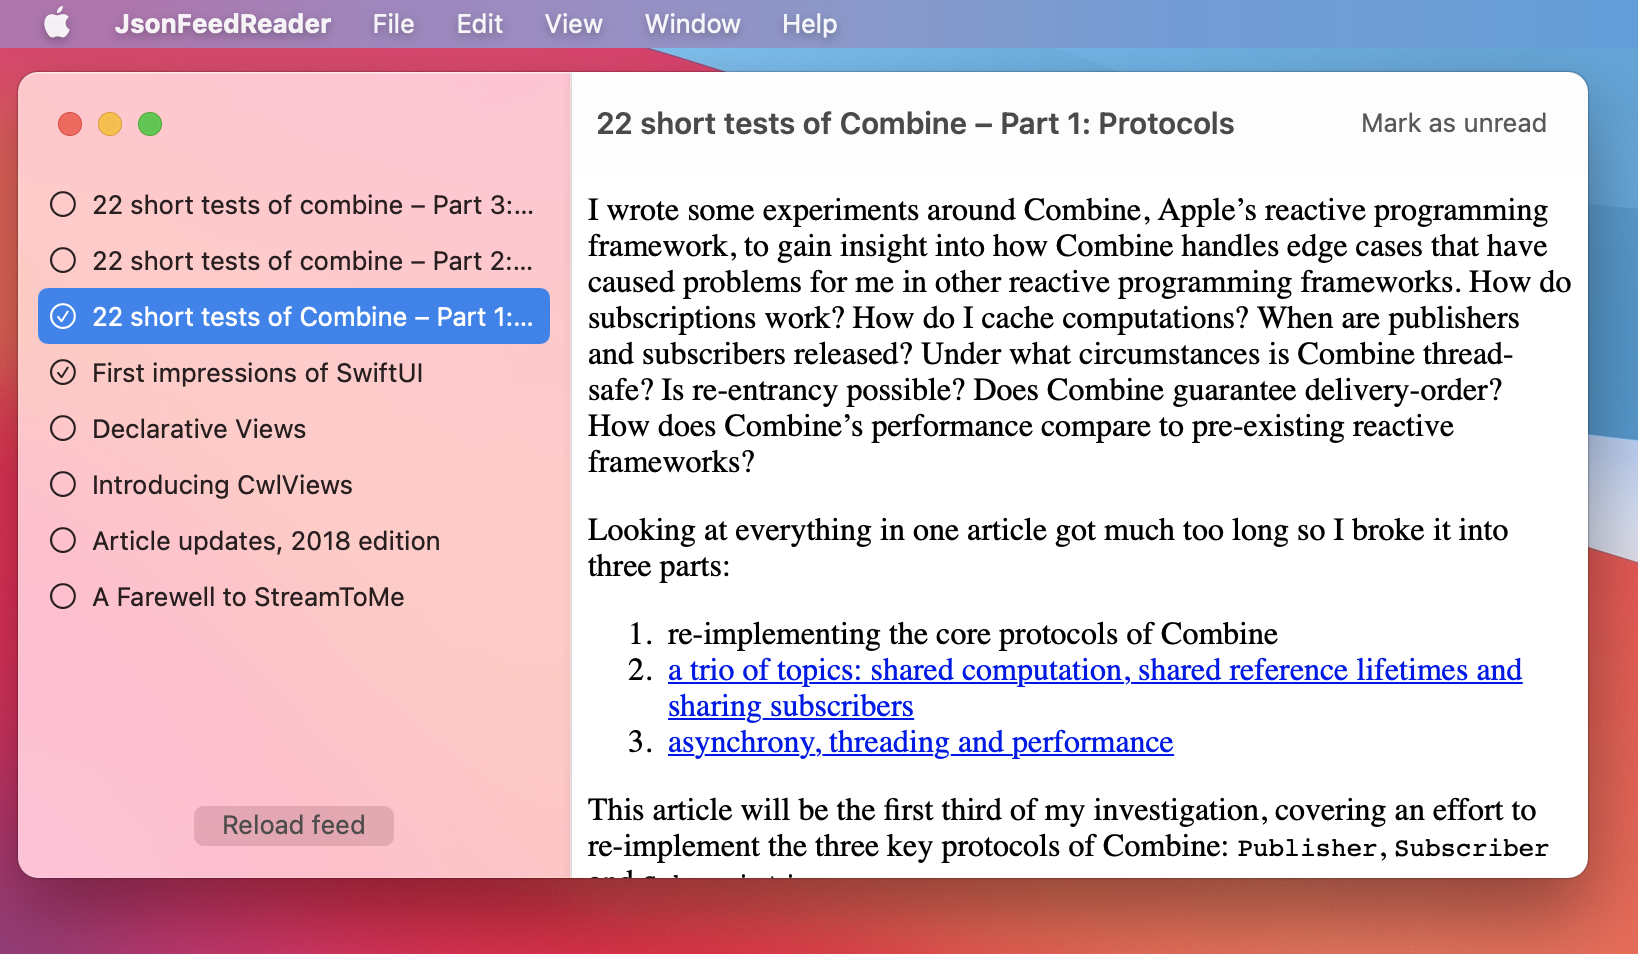
and we’ve reached the goal state for the app:
Isn’t this all obvious?
Reading over what I’ve said, I don’t feel like I’ve said anything that isn’t completely obvious. Write a couple lines of code, hit build-and-run, confirm that it runs, then add more. That’s what everyone does whenever they program, isn’t it?
Despite the apparent obviousness, working in tight iterations is one of the best rules that I, too often, fail to follow.
If I were perfectly disciplined, I would merge code on my projects roughly twice per day, with each merge being between 100 and 400 lines. When this frequency is maintained, pull requests are manageable and readable, other team members can comment on direction before too much code is written and stories move right at a predictable cadence.
Unfortunately, it’s very easy to think about the bigger picture and accidentally start work on everything at once. Larger units of code are much slower to work on. It’s not an exponential increase but it’s worse than linear – integrating a 2000 line change will usually take more than 10 times longer than integrating a 200 line change. Larger code changes are also harder to reason about – team members reviewing your change are more likely to mentally disengage than give useful feedback. And mistakes tend to be bigger, harder to address and, with the time-investment, sunk-cost fallacies are more common.
If small iterations and integrations are “obvious”, why aren’t they more natural on real-world projects?
The difficulty occurs when you’re not applying a clear “iteration” and “integration” as much as you’re refactoring one shape of code into another. Finding small clear steps becomes a challenge. The stages “placeholder”, “stubs”, “functional implementation” and “further iterations” become much messier.
A few options can help…
Parallel implementations
Instead of tearing down 5000 lines of code in one block, start a new, independent implementation alongside the old one and move components from the old implementation to the new implementation, one-at-a-time. In this way, you can apply a large refactor like you might create clean new code. Code and use the new implementation for those components moved across but the old implementation for those components yet to be migrated.
Feature toggles
If the reason you can’t commit a new block of code is because it doesn’t work, then you can always turn it off with a feature toggle (a buildtime or runtime condition in the code that skips over the new code). This allows you to commit incomplete or non-functional code to the repository, get feedback and track progress. It’s not as good an option as a parallel implementation (which can be partially used from the outset) but it can still allow you to maintain momentum.
Architectural isolation
The best option to keep code changes small is to have a codebase where all definitions and functionality are isolated and no app-specific definition extends across more than a few thousand lines of code.
This approach gets difficult when your app is tens or even hundreds of thousands of lines of code but I’ll be looking at this topic further in later articles in this series.
What’s next?
In this article, I answered the question “which should you write first, View-code or Model-code” with a resounding, “maybe it’s not the most useful question”.
In the next article, I want to answer the following question: what app design pattern have I used here? I promise the answer will be more straightforward.
The code for this article is available on github and each of the iteration phases is available as a separate commit in the history.